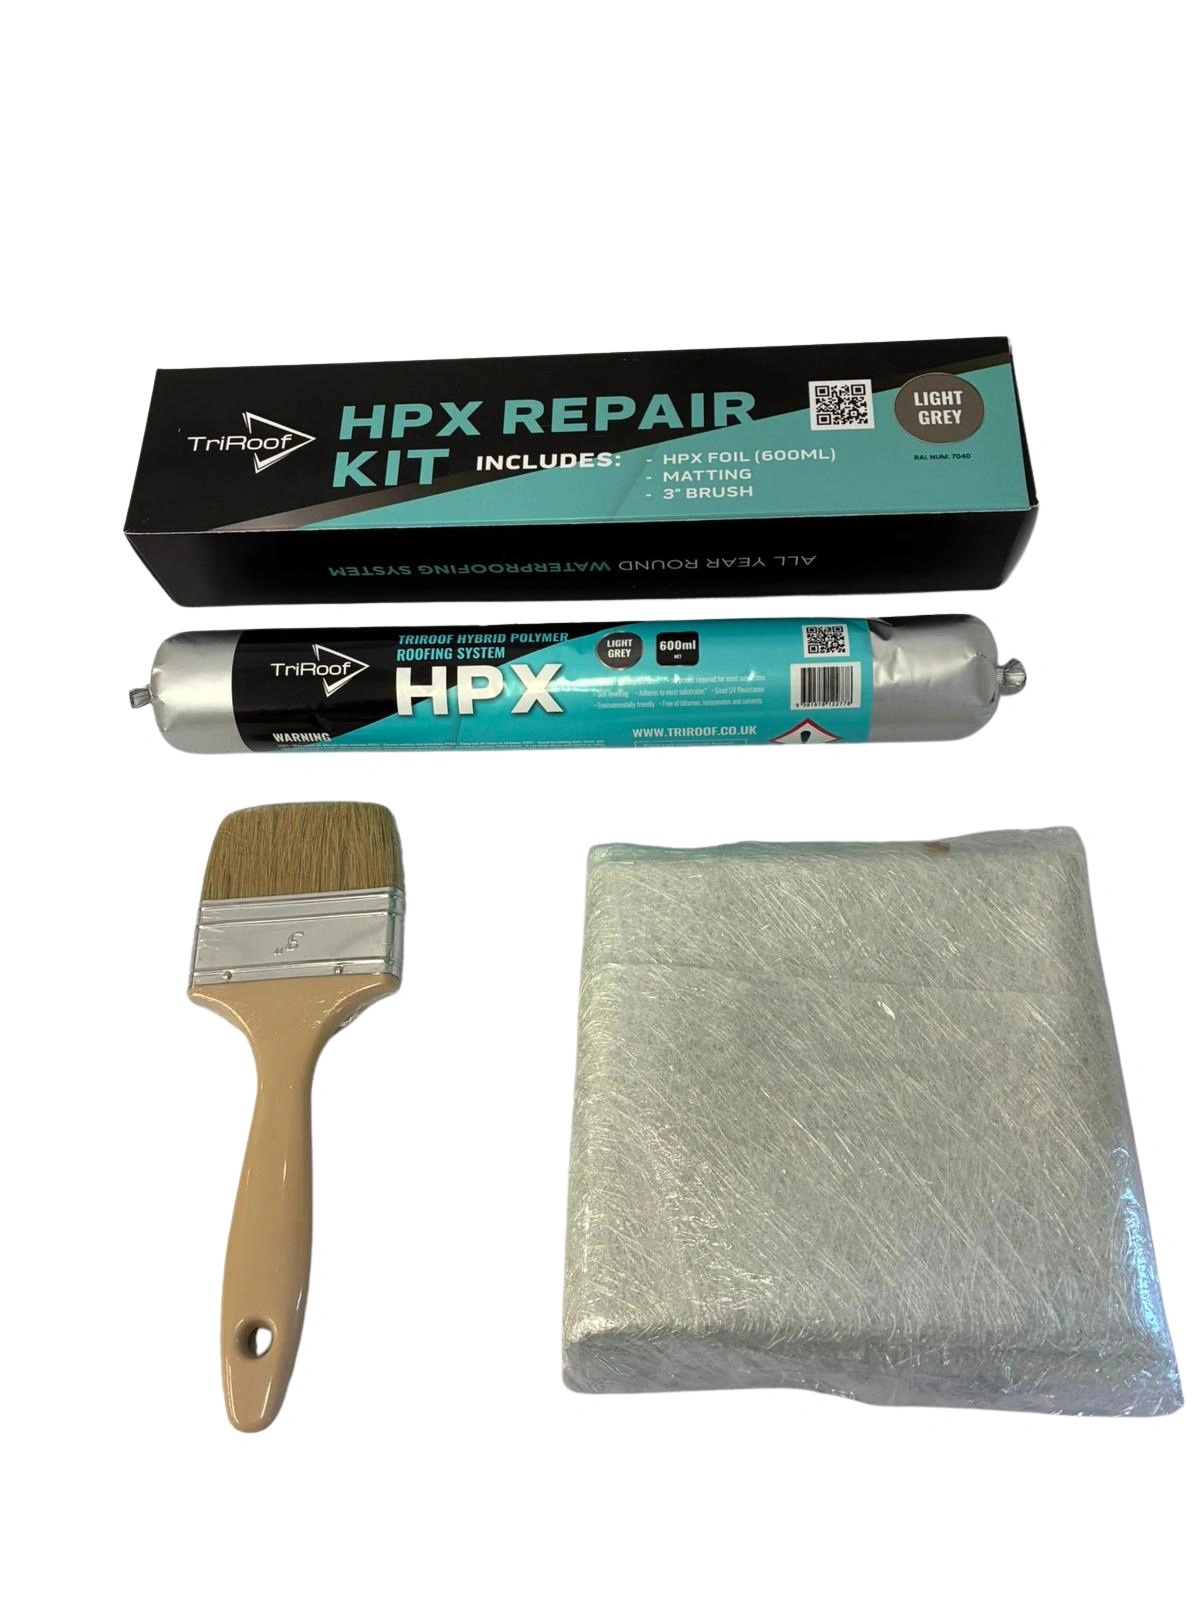
HPX Repair Kit (Light Grey)
€29.50 excl. VAT
Preparation of the Substrate
All loose materials must be removed by brushing, scraping or high-pressure water.
Surfaces should be clean and free from any oil, grease, debris, or other contaminants that may affect adhesion.
All surfaces should be degreased, either with acetone or detergent and washed off thoroughly.
Any organic growth should be treated with a fungicidal wash.
New concrete and mortars must be at least 28 days old.
Metal surfaces should be clean and free from rust and or flaking debris.
Application Instructions
1. Ensure the substrate is free from contaminants and no standing water is present.
2. Accurate measurement and cutting of the Chopped Strand Matting (CSM) is crucial. Ensure the Matting is cut to the
correct size for the repair area, and be mindful to keep it dry during this process.
3. Cut open the foil pack at one end only.
4. Squeeze the foil pack so HPX covers the area you need to repair – do not use all of the pack, as you will need more of the
product to cover the Matting.
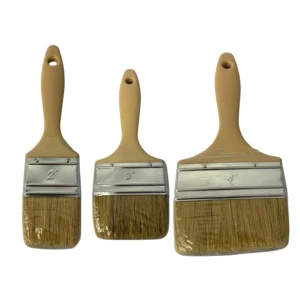
5. Using the Brush in the kit, spread the HPX around the repair area, ensuring a thin spread of HPX is evenly applied to the
substrate.
6. Use the Brush to place the Matting into the HPX and ensure it is adequately tacked down.
7. After the Matting is adequately tacked into the first layer, applying the remaining HPX is essential. This step ensures a
strong bond and a smooth finish.
8. Allow for a small border (15mm) of HPX liquid to be between the outer edge of the CSM Matting and where the HPX liquid
is to meet the substrate again.
9. Allow the application to cure for a minimum of 2-3 hours before rain.
10. Inspect the finished surface. If pinholes are present, scuff the affected area with 80-grit Sandpaper, wipe with Acetone
and apply a thin layer of HPX with a spreader over the affected area.
Coverage: 0.5 m² – 0.7 m² per kit
Colour: Light Grey
The HPX Repair Kit provides a fast, waterproof seal in any weather, achieving results within minutes.
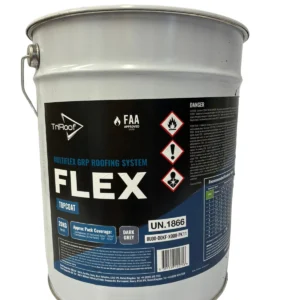
TriRoof HPX Hybrid Polymer Liquid Membrane is a high-quality, cold-applied, single-component polymer.
This flexible waterproofing membrane is free from bitumen, solvents, and isocyanates.
Once fully cured, it creates a UV-resistant, waterproof surface capable of sealing cracks up to 5 mm.
The HPX Repair Kit is intended for temporary fixes prior to a full HPX application across the entire roof surface.
Preparation of the Substrate
All loose materials must be removed by brushing, scraping or high-pressure water.
Surfaces should be clean and free from any oil, grease, debris, or other contaminants that may affect adhesion.
All surfaces should be degreased, either with acetone or detergent and washed off thoroughly.
Any organic growth should be treated with a fungicidal wash.
New concrete and mortars must be at least 28 days old.
Metal surfaces should be clean and free from rust and or flaking debris.
Application Instructions
1. Ensure the substrate is free from contaminants and no standing water is present.
2. Accurate measurement and cutting of the Chopped Strand Matting (CSM) is crucial. Ensure the Matting is cut to the
correct size for the repair area, and be mindful to keep it dry during this process.
3. Cut open the foil pack at one end only.
4. Squeeze the foil pack so HPX covers the area you need to repair – do not use all of the pack, as you will need more of the
product to cover the Matting.
5. Using the Brush in the kit, spread the HPX around the repair area, ensuring a thin spread of HPX is evenly applied to the
substrate.
6. Use the Brush to place the Matting into the HPX and ensure it is adequately tacked down.
7. After the Matting is adequately tacked into the first layer, applying the remaining HPX is essential. This step ensures a
strong bond and a smooth finish.
8. Allow for a small border (15mm) of HPX liquid to be between the outer edge of the CSM Matting and where the HPX liquid
is to meet the substrate again.
9. Allow the application to cure for a minimum of 2-3 hours before rain.
10. Inspect the finished surface. If pinholes are present, scuff the affected area with 80-grit Sandpaper, wipe with Acetone
and apply a thin layer of HPX with a spreader over the affected area.